
Programming the FPGA-384 board using an Arduino.
When the FPGA has power applied to it, it needs to be programmed, otherwise it will wait in an idle state. It can either look for a flash device to automatically load data, or it can wait until it is programmed from a microcontroller, such as an Arduino.
The Arduino also needs to be programmed to be able to send the correct signals to the FPGA board. This is accomplished by taking data generated from the open-source icestorm toolchain and incorporating this as a block of data into an Arduino project.
To do this, there are three steps:
- Generate an fpga.bin file, using the IceStorm tool chain
- Convert this file to a file called fpgabin.h, which becomes part of an Arduino project.
- Open the Arduino IDE, build and upload as normal. (It is also possible to do this step on the command-line if Arduino-mk is also installed.
It is assumed that the IceStorm tool chain & FPGA-384 software have already been installed. In these examples, it is assumed that this has been installed to a directory named "fpga-384" located in your home directory.
As an option, if you prefer to use the Arduino-mk software to build Arduino projects then see the end of this page for how to install it. This is for users who are more used to working with a command-line interface, but it makes the workflow of editing and (re)compiling the files quicker.
Getting started
In a terminal, type:
Now, you can either launch the arduino IDE, and then open the fpgaBlink project to build and program your arduino, or, if Arduino-mk is installed, issue the command:
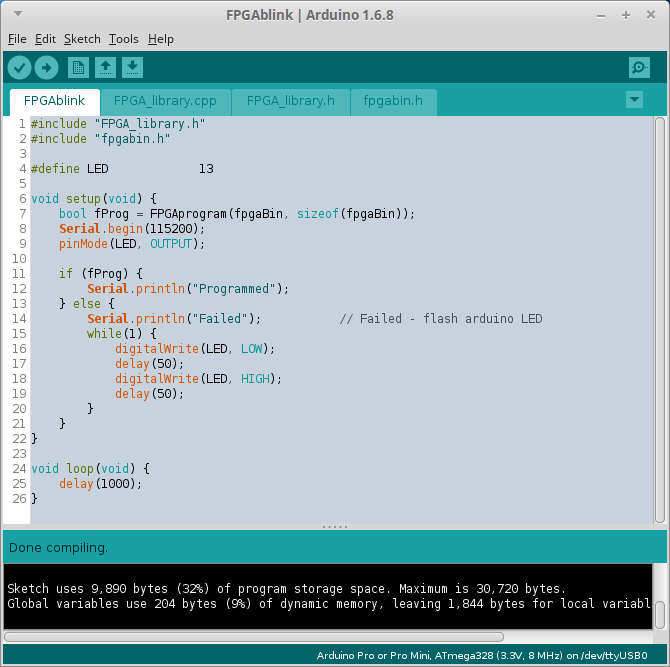
Note that in the IDE there are 4 tabs present.
- The sketch file - which programs the FPGA using the function FPGAprogram()
- FPGA_library.cpp - which has the code for the FPGA_program.
- FPGA_library.h - for some pin definitions.
- fpgabin.h - this is the generated data from the fpga.bin file. If this is not present, then check the results of the commands from the terminal above
Upload your code, and if all went well, the LED's should be blinking and changing brightness.
Changing the FPGA program
To modify the fpga, e.g. change the period of the blinking LED, modify the blink.v verilog source file using your favourite editor:
Hardware connections
See the Pinout and Wiring page for details.
Installing Arduino-mk (Optional)
Arduino-mk allows the use of a makefile for Arduino projects. It is not required, but it makes the development cycle much faster, as it is easy to switch from editing verilog source code, to transferring this to the Arduino and programming the FPGA.
The source can be found here.