
FPGA-384 - Fitting the connector.
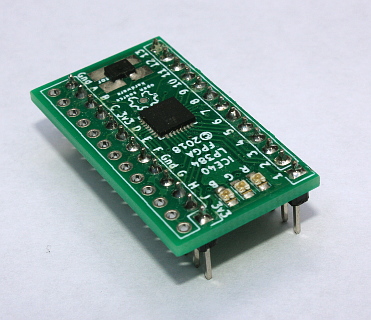
The board is shipped with two types of connectors. If you want to fit the board into a breadboard and use a microcontroller such as an Arduino to program it and send signals to it then it is easiest to do so by fitting the pair of 13x1 pin headers. If instead you want to plug the board into a Raspberry Pi and use that to program it then you must fit the single 13x2 socket.
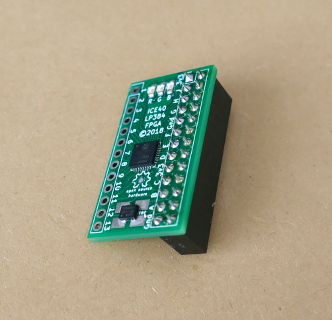
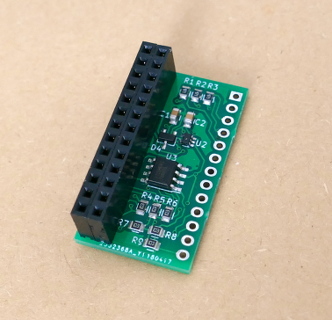
Both types of connectors fit to the underside of the board - that is, the side of the board that has all the small resistors and capacitors on it and does not have the LED's, the main FPGA, or the silk screen pin numbers.
Raspberry Pi option.
If fitting the socket for the Raspberry Pi, then the single 2x13 socket must be fitted on the right hand side set of holes and you can ignore the left single row.
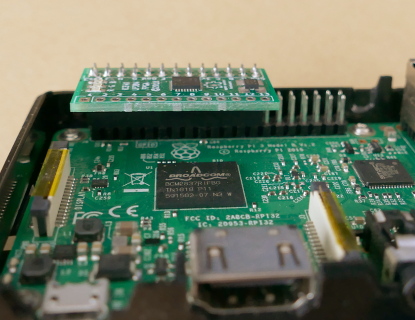
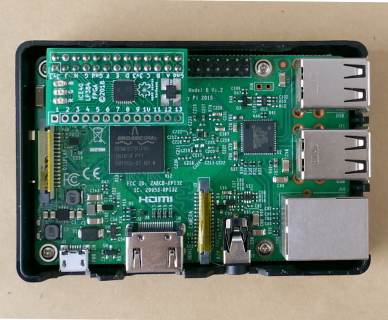
The board fits onto the Pi's IO header flush to the end so that the FPGA board pin labeled 3V3 lines up with pin 1 of the Pi IO header as shown. You may damage the FPGA or the Raspberry Pi if you do not fit it to the correct pins.
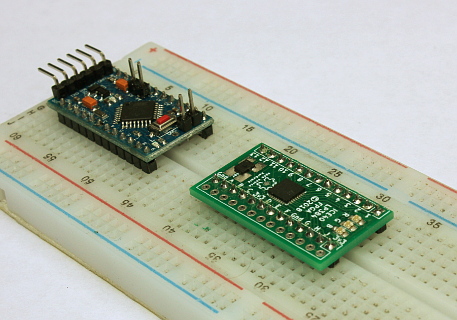
Breadboard / Arduino option.
If fitting pin headers for a breadboard, then one set needs to be fitted on the side of the board with the single row of holes and the other set must be fitted on the inner of the two sets of holes. That is to say, the row closest to the FPGA and the ones with all the lables showing on the topside. The inner row of the two have all of the useful signals for programming the board.
The short pin ends go through the holes of the board and it is the long pin ends that are free to make the connections to the breadboard.
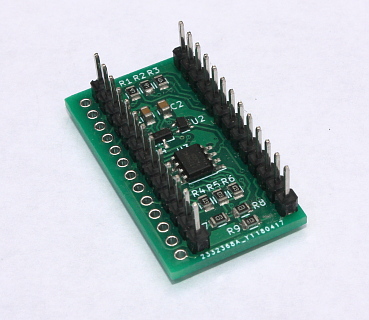
When using a breadboard you should find that the pins are correctly spaced for it to fit.
Soldering hints.
To solder the connectors, place the connector type on the underside of the board referring to the images above and carefully push the pins through the holes. Apply solder, on the top side of the board, to just one of the terminals poking through allowing it to flow into the hole and form a joint. Check that the connector is seated flush and all square to the board reheating the same one pin to adjust it, before applying solder to all of the other pins.
Using a little solder flux can help solder flow but ensure that excess residue is cleaned off before finishing.